Payment Configuration
Propty uses Stripe to process payments from residents. Before residents can pay invoices online, you need to connect your Stripe account to your property.
- Organization manager access (only org managers can configure payments)
- A bank account for receiving payments
- Basic business information (address, tax ID) for Stripe verification
Understanding Payment Status
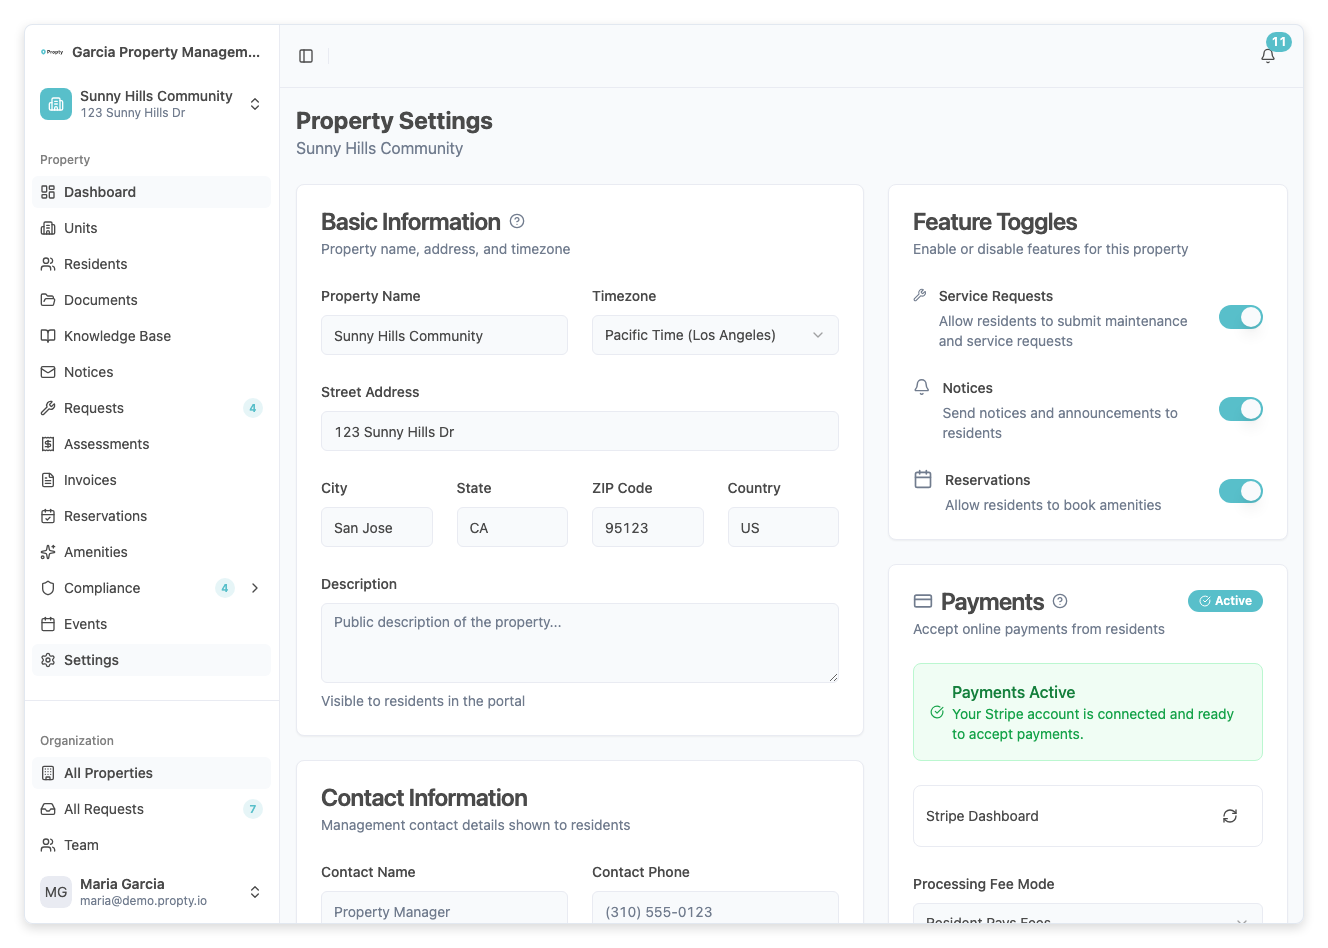
The Payment Settings card (on the right side of the Settings page) shows the current status of your Stripe connection:
| Status | Meaning |
|---|---|
| Not Connected | Stripe has not been set up yet. Residents cannot pay online. |
| Onboarding Started | You began the Stripe setup but didn't finish. Click "Continue Setup" to resume. |
| Pending Verification | Stripe is reviewing your information. This usually takes 1-2 business days. |
| Active | Everything is set up. Residents can pay online. |
| Restricted | Stripe needs additional information from you. Click "Continue Setup" to provide it. |
| Disabled | Your Stripe account has been disabled. Contact support for help. |
Connecting Stripe
Step 1: Go to Property Settings
Navigate to your property and click Settings in the sidebar.
Step 2: Find the Payment Settings card
On the right side of the page, look for the card with a credit card icon labeled Payments.
Step 3: Click "Connect Stripe"
Click the Connect Stripe button. A dialog will appear explaining what happens next.
Step 4: Click "Continue" in the dialog
Read the information and click Continue. You will be redirected to Stripe's website.
Step 5: Complete the Stripe onboarding
On Stripe's website, you will be asked to provide:
- Business type — Individual or company.
- Business details — Name, address, phone number.
- Personal information — For identity verification.
- Bank account — Where you want payments deposited.
Follow the on-screen instructions. This process takes about 5-10 minutes.
Step 6: Return to Propty
After completing the Stripe setup, you will be redirected back to Propty. A success message will appear confirming the connection.
Configuring Fee Settings
Once Stripe is active, you can choose who pays the service fee that Propty charges for online payments — 3.5% + $0.50 for card payments, or 1% (capped at $5.95) for ACH bank transfers.
Step 1: Find the fee mode setting
In the Payment Settings card, look for the Fee Mode dropdown. It appears once your Stripe account is active.
Step 2: Choose a fee mode
Select one of these options:
- Pass to Resident — The service fee is added on top of the invoice amount. The resident pays the fee. For example, a $300 invoice paid by card would show as $311.00 with the service fee.
- Absorb Fees — Your organization absorbs the service fee. The resident pays the exact invoice amount. You receive the amount minus the fee.
Step 3: The setting saves automatically
The fee mode is saved immediately when you select it. A confirmation message will appear.
Managing Your Stripe Account
Once connected, you can:
- Open Stripe Dashboard — Click the Open Dashboard link in the Payment Settings card to access your Stripe dashboard. There you can view transactions, manage payouts, and update bank details.
- Sync Status — Click the refresh icon to sync the latest status from Stripe.
Resuming Incomplete Onboarding
If you started the Stripe setup but didn't finish:
- Go to Settings for your property.
- The Payment Settings card will show "Needs Attention" with a yellow banner.
- Click Continue Setup to return to Stripe and complete the process.
Troubleshooting
| Problem | Solution |
|---|---|
| "Connect Stripe" button not showing | Only organization managers can set up payments. Check your access level. |
| Stripe onboarding keeps asking for more information | Complete all required fields. Stripe may need additional documents for verification. |
| Status stuck on "Pending Verification" | Stripe verification can take 1-2 business days. If it takes longer, check your Stripe dashboard for pending requirements. |
| Residents can't see "Pay" button on invoices | Make sure the Stripe status is Active. If it shows any other status, complete the setup first. |
| Want to change bank account | Open the Stripe Dashboard from the Payment Settings card and update your bank details there. |