Schedule a Meeting
Propty's events feature lets you schedule board meetings, annual general meetings (AGMs), special meetings, and other property events. You can set up the event details, invite participants from your resident list, configure the agenda, and send invitations from the Events area.
- A property set up in Propty
- Meeting details: date, time, and agenda
- If holding a vote: a list of eligible voters (owners and/or board members)
Creating an Event
1. Go to the Events page
From the dashboard sidebar, click Events.

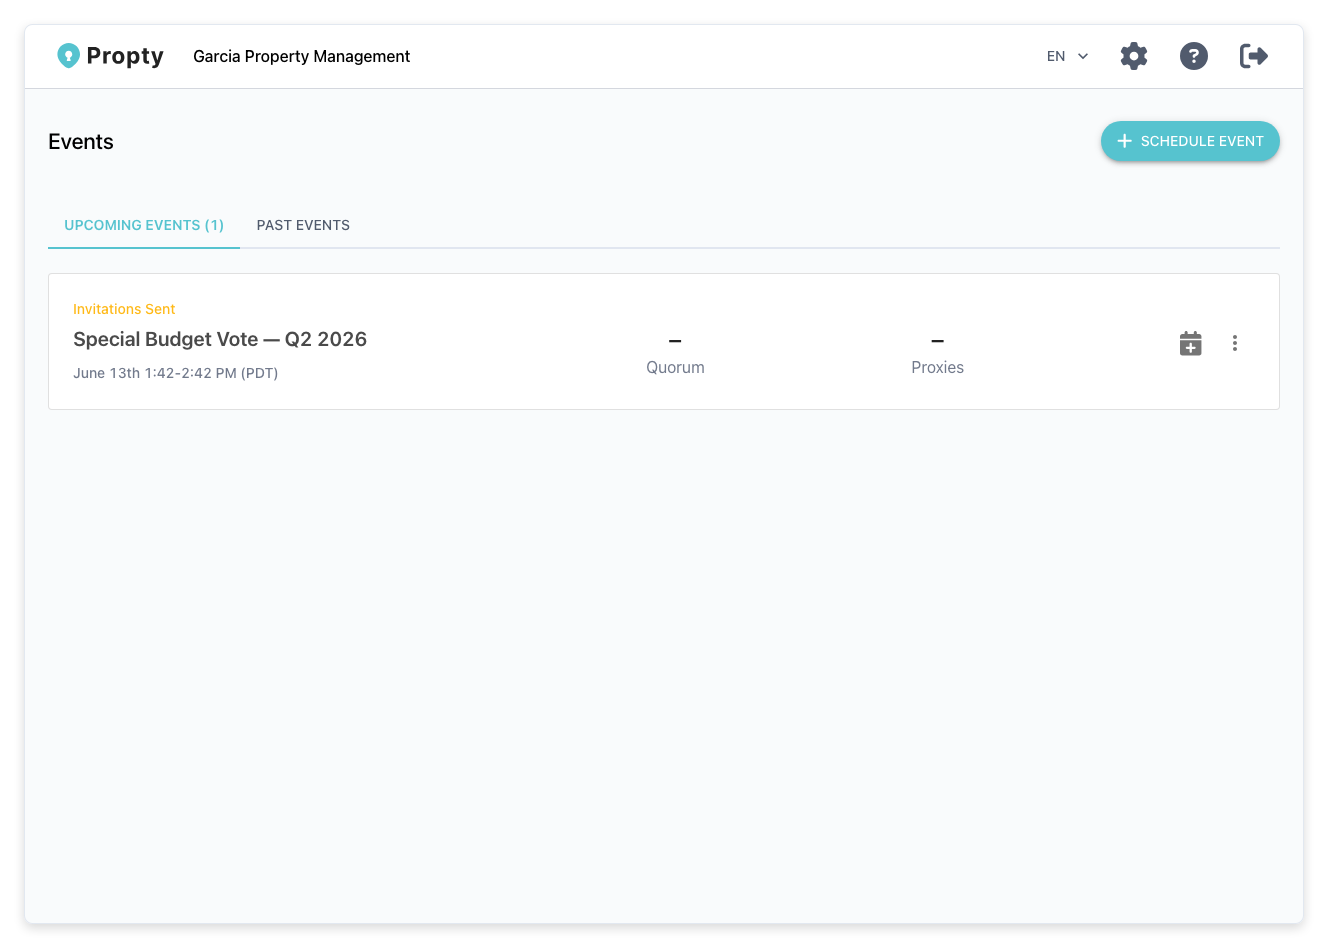
You will see a list of upcoming and past events. If you have no events yet, you will see an empty state with a prompt to create your first event.
2. Click "Schedule Event"
Click the Schedule Event button. This starts the event setup wizard.
3. Set the event basics
The wizard walks you through several steps. First, enter the basic event information:
- Event Name (required) — A clear title for the event (for example, "2026 Annual General Meeting" or "March Board Meeting").
- Description (optional) — Additional details about the purpose of the event.
- Language (required) — The primary language for the event interface and notifications.
- Timezone (required) — The timezone for the event. Defaults to your property's timezone.
- Start Date & Time (required) — When the event begins.
- End Date & Time (optional) — When the event is scheduled to end.
4. Add participants
In the Voters step, add the people who will attend or vote at the meeting:
-
Generate from Residents — Click this button to automatically create voter records from your property's residents. You can choose to include:
- Owners — Residents with CO_OWNER role (have voting rights)
- Board Members — Residents marked as board members
Propty calculates each voter's weight based on their ownership share across units.
-
Add Individually — You can also add participants one at a time by entering their name and email.
5. Set up the agenda
Add agenda items for the meeting. Each item can include a title, description, and time allocation.
6. Attach documents
Upload any documents participants should review before the meeting (for example, financial reports, proposed budgets, CC&R amendments).
7. Configure appearance and emails
Customize the event branding and email templates for invitations and reminders.
8. Complete the wizard
Review your settings and click Create Event. The event is created and appears in your events list.
After Creating the Event
Once created, you can:
- Send invitations — Email participants with a link to join the meeting
- Start the event — When the meeting begins, click Start Event to open the live meeting interface
- Add polls — Create voting items for the meeting (see Use Polls in Meetings)
Troubleshooting
I don't see the "Events" option in the sidebar
- Events must be enabled for your property. Contact your organization manager to verify the feature is available.
"Generate from Residents" is not adding all expected owners
- Only residents with an Active status and CO_OWNER role (or board member flag) are included. Check that the residents you expect to see have the correct role and status in the Residents list.
I need to change the event details after creation
- Open the event detail page and click Edit. You can update the name, description, dates, and other settings.
Can residents see the event before I send invitations?
- Events appear in the resident portal's events list once created. However, residents can only join the live meeting after receiving their invitation with a personal access link.