Event Details
The event detail page is your central hub for managing a meeting. From here you can view participants, manage the agenda, attach documents, configure polls, send emails, and start or end the live meeting.
- An existing event (see Schedule a Meeting)
Accessing Event Details
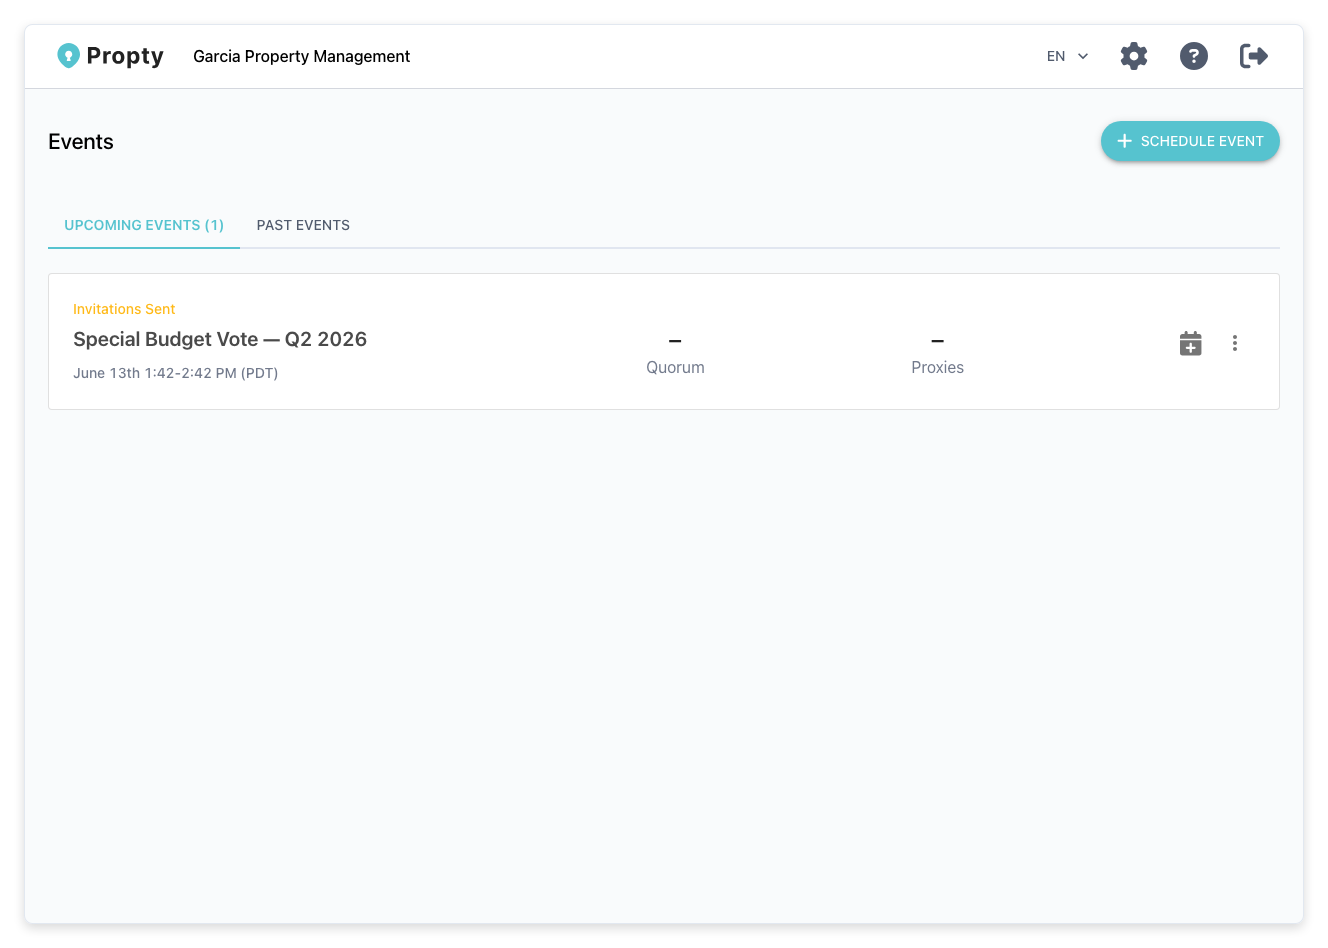
1. Go to the Events page
From your property dashboard, click Events in the left sidebar.
2. Click on an event
Click the event name to open the detail page.
Detail Page Tabs
The event detail page is organized into tabs:
Participants
View and manage the list of people invited to the event.
| Column | Description |
|---|---|
| Name | The participant's full name |
| Their email address | |
| Unit | Their unit number (if linked to a resident) |
| Weight | Their voting weight (for owner votes) |
| Invitation Status | Whether the invitation email was sent, delivered, or bounced |
| Check-In | Whether the participant has joined the live meeting |
You can:
- Add participants individually or generate from residents
- Remove participants who should not attend
- Resend invitations to participants who haven't received theirs
Agenda
View and edit the meeting agenda. Each agenda item shows its title, description, and estimated time.
- Click Add Item to add a new agenda item
- Drag items to reorder them
- Click an item to edit its details
Polls
View and manage voting items for the meeting. Polls can be created before or during the live meeting. See Use Polls in Meetings for details.
Documents
View and manage files attached to the event. These are available to participants before and during the meeting.
- Click Upload Document to add a file
- Click a document to preview or download it
Emails
Configure and send email communications for the event:
- Invitation emails — Send to all participants or individually
- Reminder emails — Send reminders before the meeting
- Follow-up emails — Send after the meeting with results or minutes
Settings
Update event configuration:
- Event name, description, dates
- Language and timezone
- Branding and appearance settings
Starting and Ending an Event
Starting the event
When it's time for the meeting to begin:
- Click the Start Event button on the event detail page.
- You will be redirected to the live meeting interface where you can manage the meeting in real time — present agenda items, launch polls, and monitor participation.
The event status changes to Ongoing. Participants can now join using their personal meeting links.
Ending the event
When the meeting is finished:
- From the live meeting interface, click End Event.
- The event status changes to Completed.
- Participants can no longer join, and poll results are finalized.
Event Statuses
| Status | Meaning |
|---|---|
| Draft | Event created but not yet ready for invitations |
| Upcoming | Event scheduled; invitations can be sent |
| Ongoing | Event is live; participants can join |
| Completed | Event has ended; results are available |
Troubleshooting
A participant says they can't join the meeting
- Verify their invitation was sent and delivered (check the Invitation Status column).
- Make sure the event status is Ongoing — the "Join" link only works during an active event.
- Ask the participant to check their email for the invitation link. Each participant has a unique personal link.
I need to add a participant after the event has started
- You can add participants while the event is ongoing. Add them from the Participants tab and send their invitation. They can join immediately.
The event ended accidentally
- If you ended the event by mistake, there is no automatic way to restart it. Contact support or create a new event if the meeting needs to continue.
Documents are not showing for participants
- Make sure the documents were uploaded before or during the event. Documents uploaded after the event ends are for record-keeping only.