Send a Notice to Residents
Notices are formal communications you send to residents via email and optional SMS. Use notices for announcements, maintenance schedules, meeting invitations, policy changes, and more.
What You'll Need
- A Propty account with Property Manager, Property Admin, or Team Member access
- At least one resident added to your property
Steps
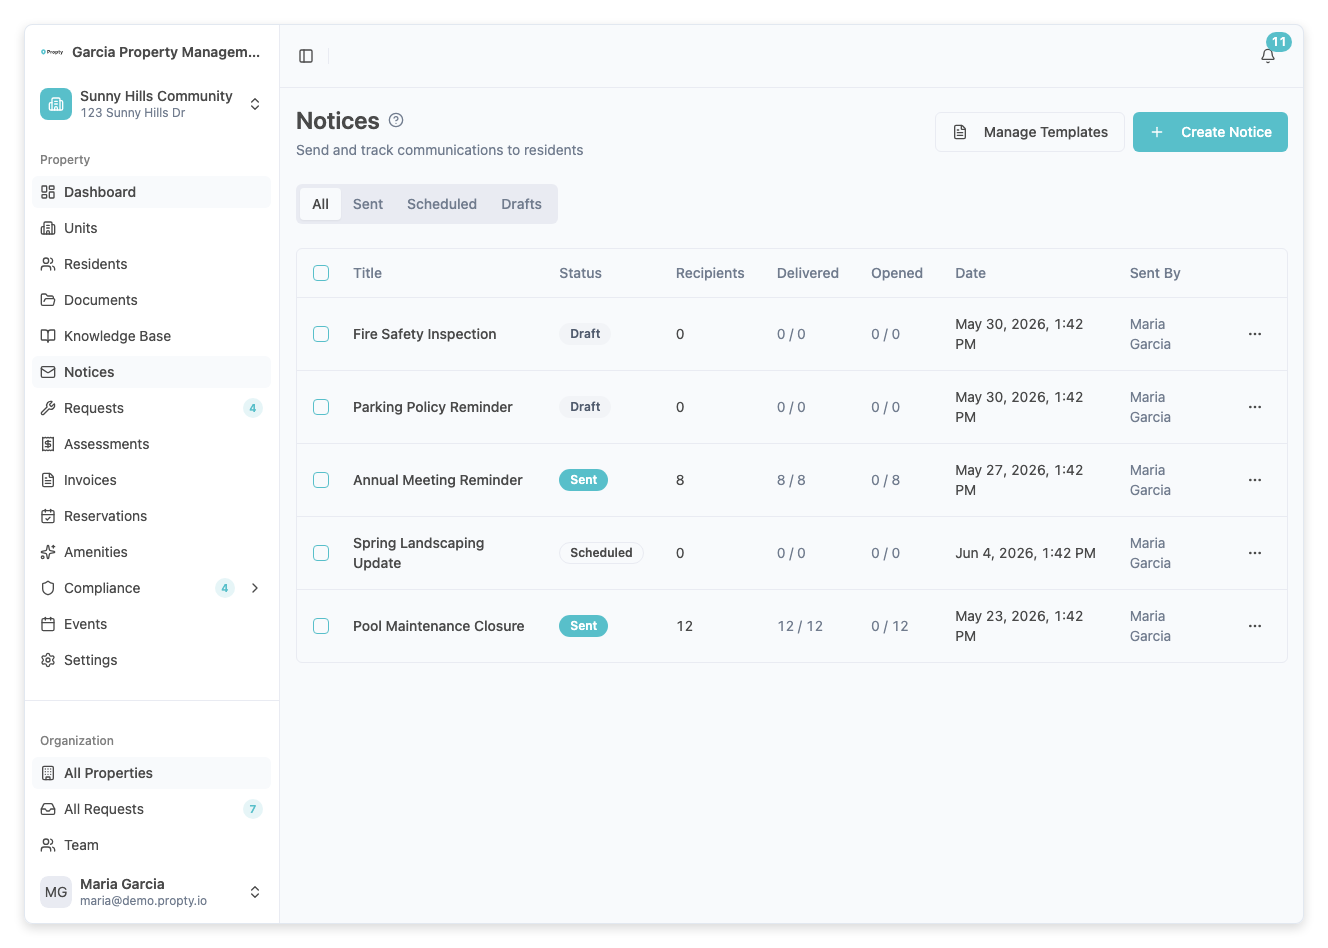
1. Open the Notices Page
From your property dashboard, click Notices in the left sidebar. You will see a list of all notices you have sent, along with their status and delivery information.

2. Click "Create Notice"
Click the Create Notice button in the top-right corner of the page. This opens the notice creation wizard.
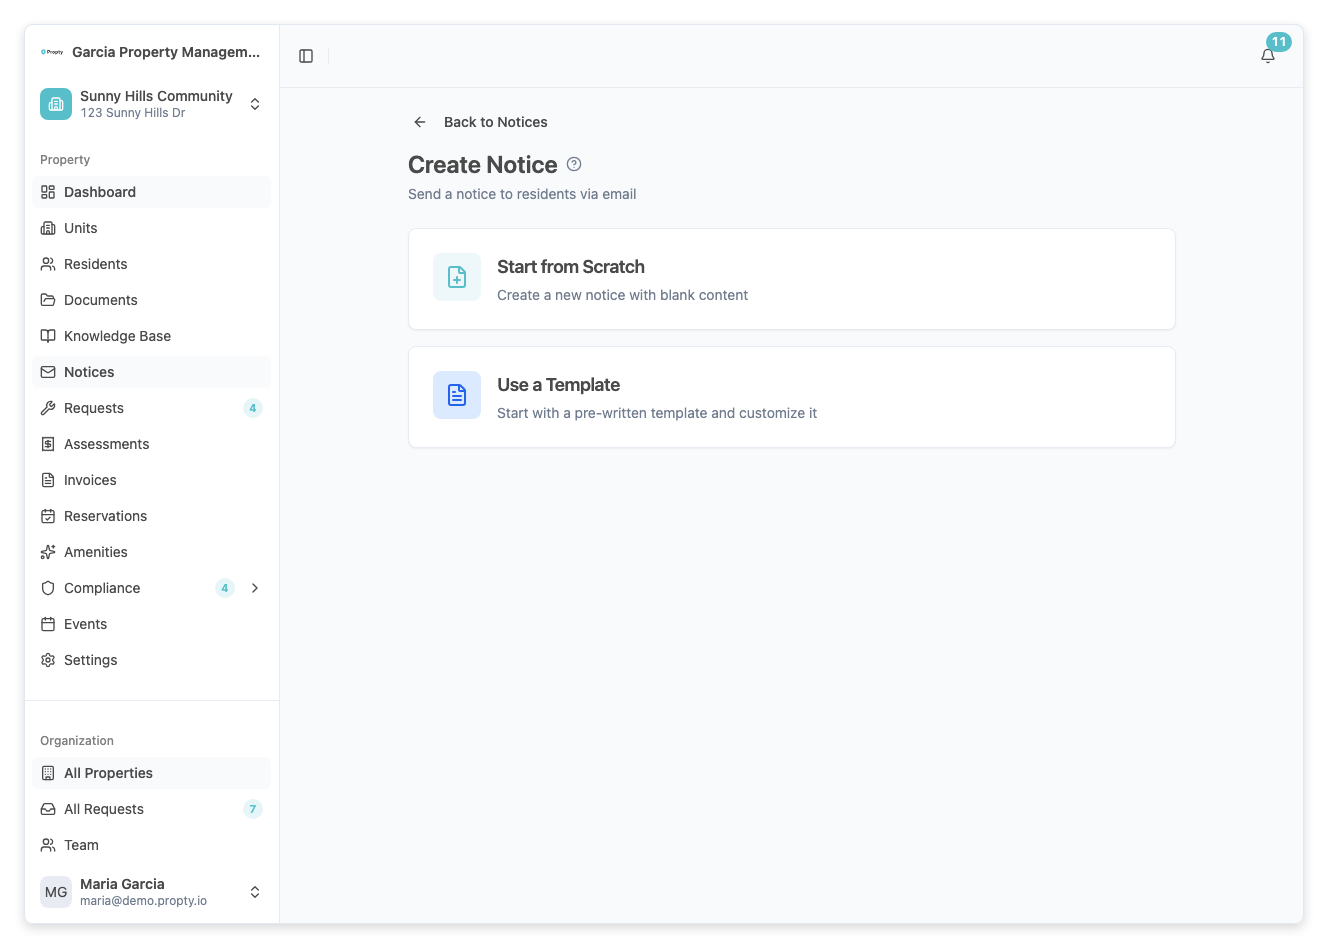
3. Choose a Starting Point
You can either:
- Start from scratch — Begin with a blank notice
- Use a template — Choose from a saved template to pre-fill the notice content
Select your preferred option and click Next.

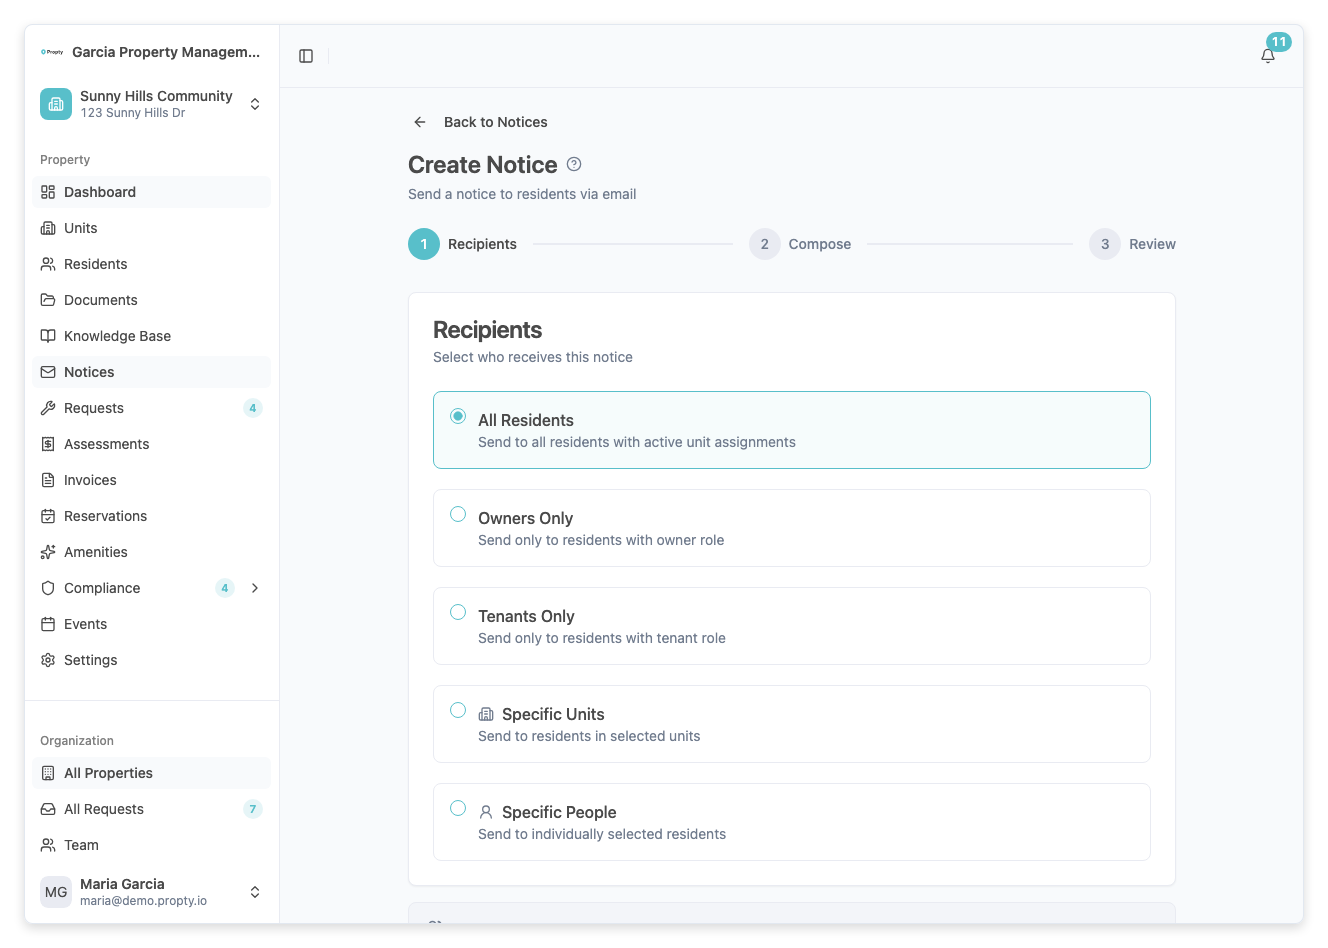
4. Select Recipients (Step 1 of 3)
Choose who should receive this notice. You have three targeting options:
- By audience — Send to all residents, only co-owners, or only tenants
- By units — Select specific units to target
- By people — Pick individual residents from a list
A recipient count appears at the bottom, showing how many residents match your selection.
Click Next when you are satisfied with your recipient selection.
5. Compose Your Notice (Step 2 of 3)
Fill in the notice content:
- Title (required) — Enter a clear subject line (up to 140 characters)
- Email content (required) — Write your message using the rich text editor. You can:
- Format text with bold, italic, underline, lists, and links
- Insert personalization tokens (like resident name, property name, or unit number) using the Token dropdown
- SMS notification (optional) — Toggle Also send SMS notification to include a short text message (up to 160 characters)
- Attachments (optional) — Upload files up to 10 MB each (maximum 5 files). Click Add attachment to attach documents
Click Preview to continue to the review step.
6. Review and Send (Step 3 of 3)
Review your notice before sending:
- Email preview — See exactly what the email will look like with personalization tokens replaced using a sample recipient
- SMS preview — If SMS is enabled, see the text message that will be sent
- Summary — Confirm the recipient count, delivery channels, and number of attachments
You have three options:
- Save as Draft — Save the notice to finish later
- Schedule — Choose a future date and time to send the notice automatically
- Send Now — Deliver the notice immediately to all selected recipients

7. Track Delivery
After sending, you return to the notices list. Click on a sent notice to view its detail page, where you can see:
- Delivery stats — Total recipients, delivered count, opened count, and portal views
- Content tab — The email body and any attachments
- Recipients tab — Per-recipient delivery status showing when each person received, opened, and viewed the notice

Personalization Tokens
You can insert these tokens in your notice content. They are replaced with each recipient's actual information when the notice is sent:
| Token | What It Shows | Example |
|---|---|---|
{{resident_name}} | Recipient's full name | Jean Tremblay |
{{property_name}} | Property name | Sunny Hills Community |
{{unit_number}} | Recipient's unit number | 4B |
Troubleshooting
My notice shows "Partially Failed"
Some recipients did not receive the notice. Open the notice detail page, go to the Recipients tab, and look for recipients with a "Failed" status. You can click Resend to retry delivery to failed recipients only.
I don't see all my residents in the recipient list
Make sure the residents have been added to the property and have valid email addresses. Residents without an email address cannot receive email notices.
My attachments won't upload
Check that each file is under 10 MB and you have not exceeded the limit of 5 attachments per notice. Supported file types include PDF, Word documents, images, and spreadsheets.
How do I edit a sent notice?
You cannot change the content of a notice that has already been sent. If you need to send a correction, create a new notice referencing the original.
Can I delete a notice?
Yes. From the notices list, select the notice(s) using the checkboxes and click Delete Selected. You can also delete a single notice from its detail page. Deleting a sent notice removes it from recipients' notice history in the portal.