Configure Request Settings
Request settings let you control how maintenance requests behave for your property. You can configure automatic closure of inactive requests and set response time targets (SLA) by priority level.
- A Propty account with Property Manager or Property Admin access
Steps
1. Go to Request Settings
From the Requests page, click Settings (or navigate to Requests > Settings from the sidebar).
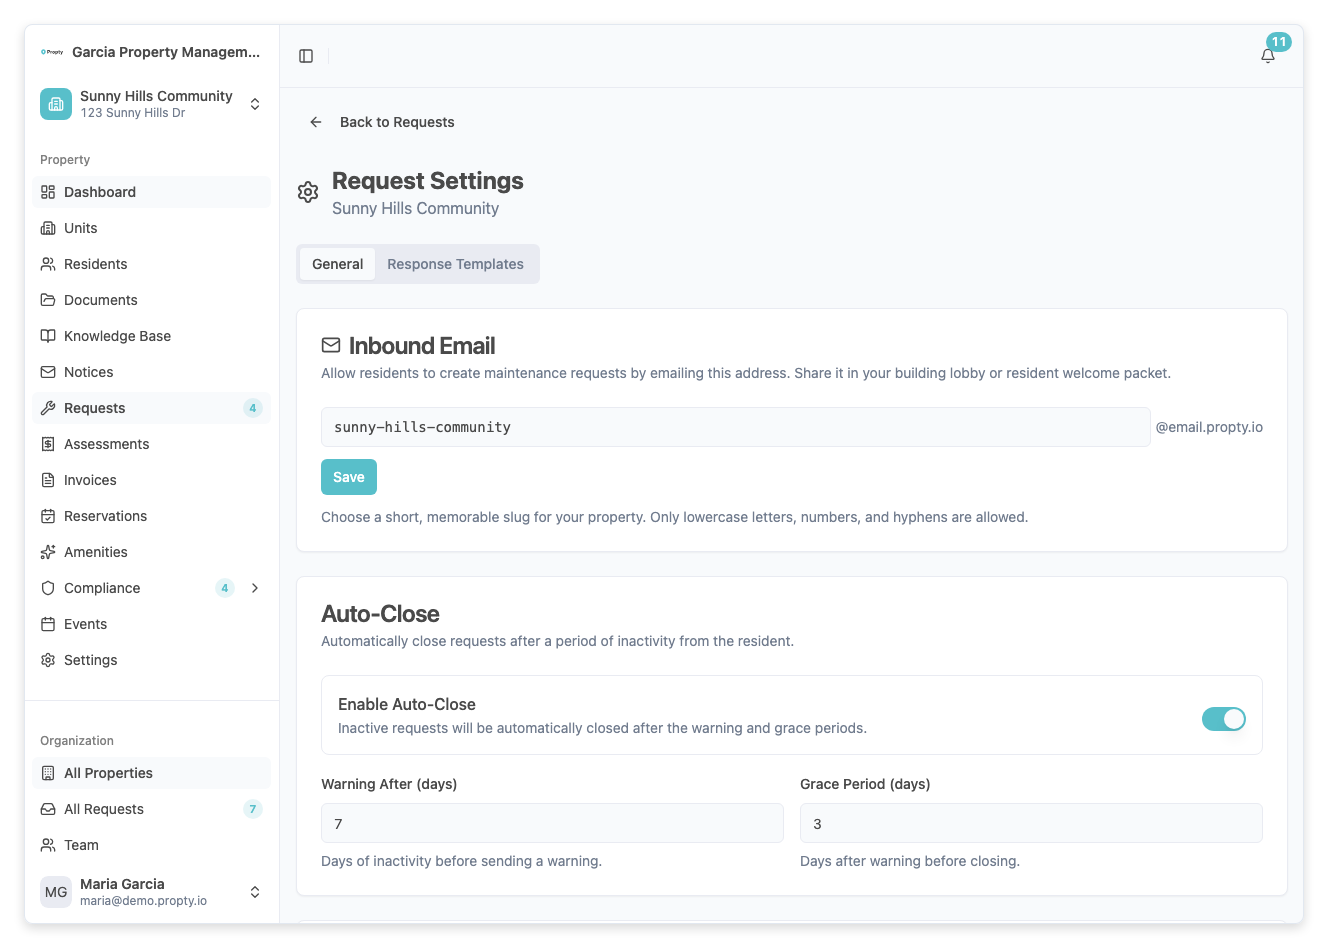
Auto-Close Settings
The auto-close feature automatically closes requests that have been inactive for a specified period, reducing clutter from resolved but unclosed requests.
2. Enable or disable auto-close
Toggle the Enable Auto-Close switch to turn the feature on or off.
When enabled, two timing fields appear:
3. Set the warning period
Enter the number of days of inactivity before the system sends a warning to the resident. This gives the resident a chance to respond before the request is closed.
- Warning After (days) — default is 7 days, range is 1-90 days
4. Set the grace period
Enter the number of days after the warning before the request is automatically closed.
- Grace Period (days) — default is 3 days, range is 1-30 days
Example: With the defaults (7 day warning, 3 day grace), a request with no activity for 7 days will trigger a warning. If the resident does not respond within 3 more days, the request is automatically closed.
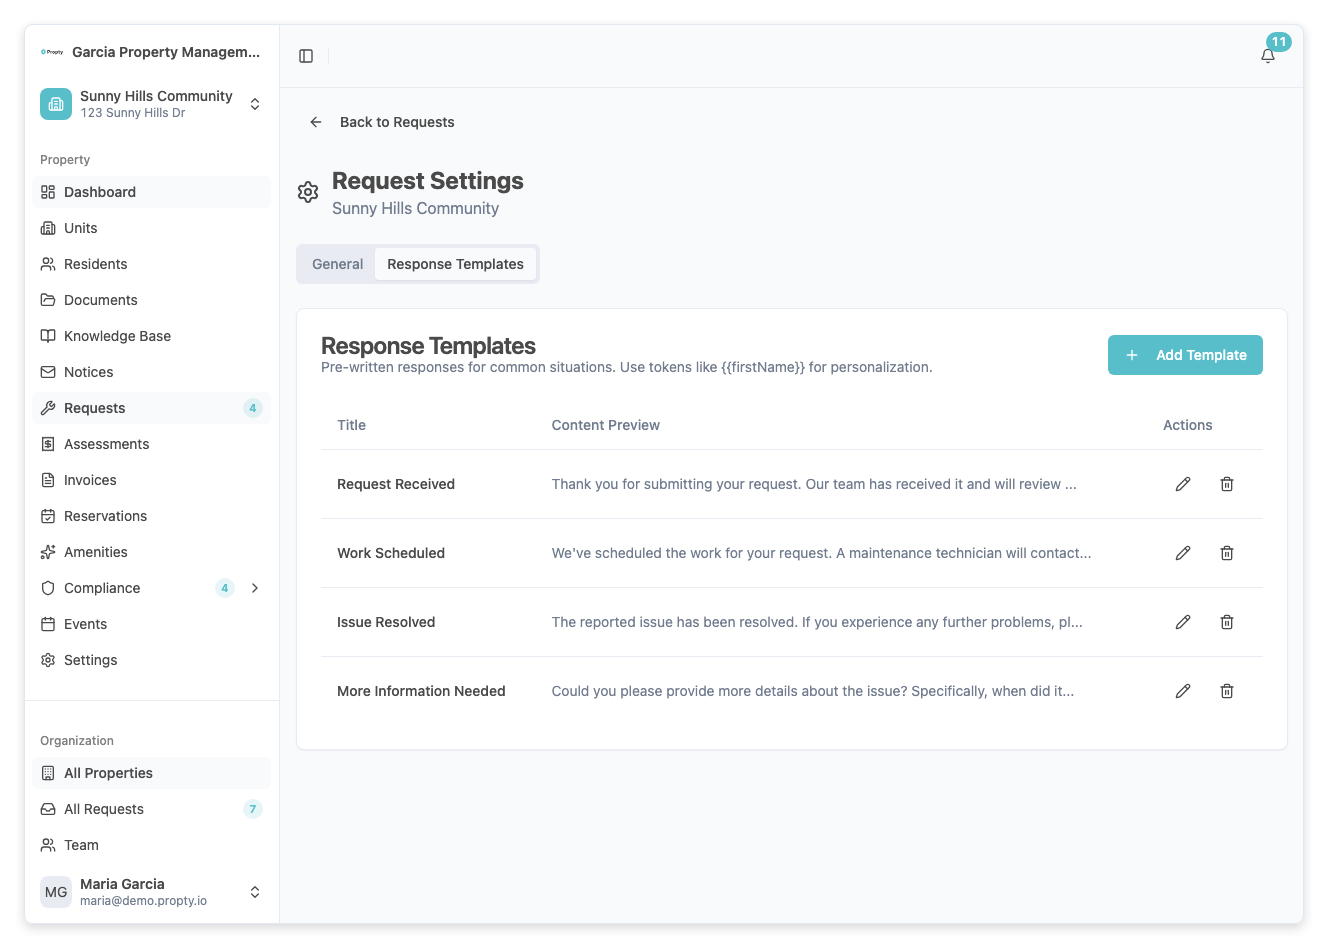
SLA Response Time Targets
SLA (Service Level Agreement) targets define how quickly your team should respond to requests based on their priority. These are displayed as SLA indicators on each request.
5. Set response times by priority
Configure the target response time in hours for each priority level:
| Priority | Default | Range | Typical use |
|---|---|---|---|
| Urgent | 1 hour | 1-168 hours | Safety hazards, flooding, no heat |
| High | 4 hours | 1-168 hours | Major issues affecting livability |
| Medium | 24 hours | 1-168 hours | Standard repairs |
| Low | 48 hours | 1-336 hours | Minor or cosmetic issues |

6. Save your settings
Click Save Settings at the bottom of the page. A success message will confirm your settings have been saved.
How SLA indicators work
Once configured, each request displays an SLA indicator based on the time elapsed since creation:
| Indicator | Meaning |
|---|---|
| On track (green) | Response time is within the target |
| Warning (yellow) | Approaching the target deadline |
| Breached (red) | Target response time has been exceeded |
Troubleshooting
SLA indicators are not showing on requests
- SLA indicators appear only after you save your settings. Existing requests will be evaluated against the new targets.
Auto-close closed a request the resident still needed help with
- The resident can contact you to reopen the request. You can also disable auto-close for individual requests from the request detail sidebar.
I want different settings for different properties
- Request settings are configured per property. Navigate to each property's request settings page to configure them independently.