Create Quick Responses
Quick responses (also called canned responses) are pre-written messages you can insert when replying to maintenance requests. They save time for common replies like acknowledging receipt, requesting more information, or confirming completion.
- A Propty account with Property Manager or Property Admin access
Managing quick responses
1. Go to Request Settings
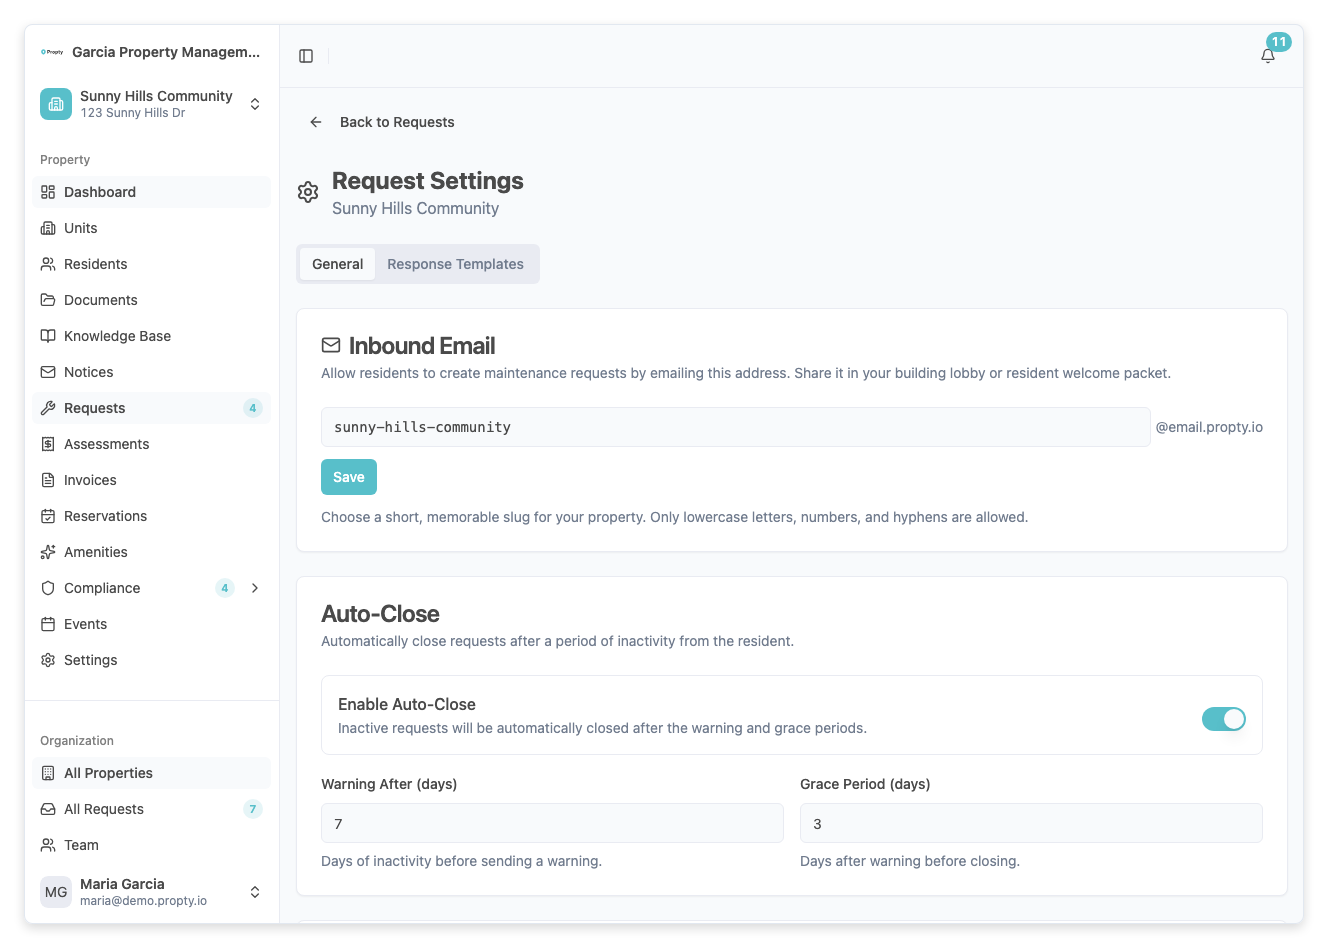
From the Requests page, click Settings. Scroll down to the Quick Responses section.
2. View existing responses
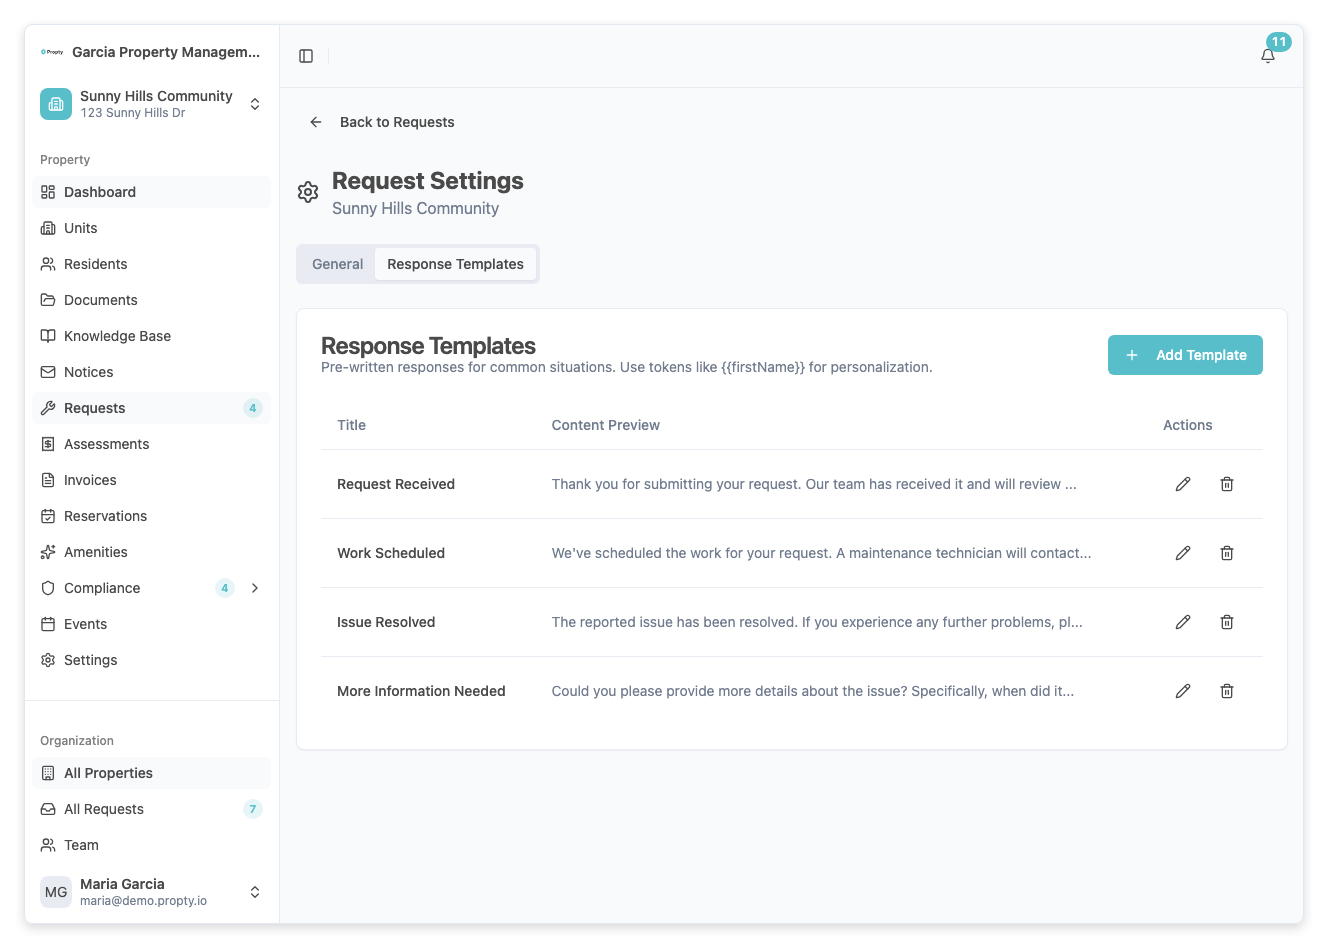
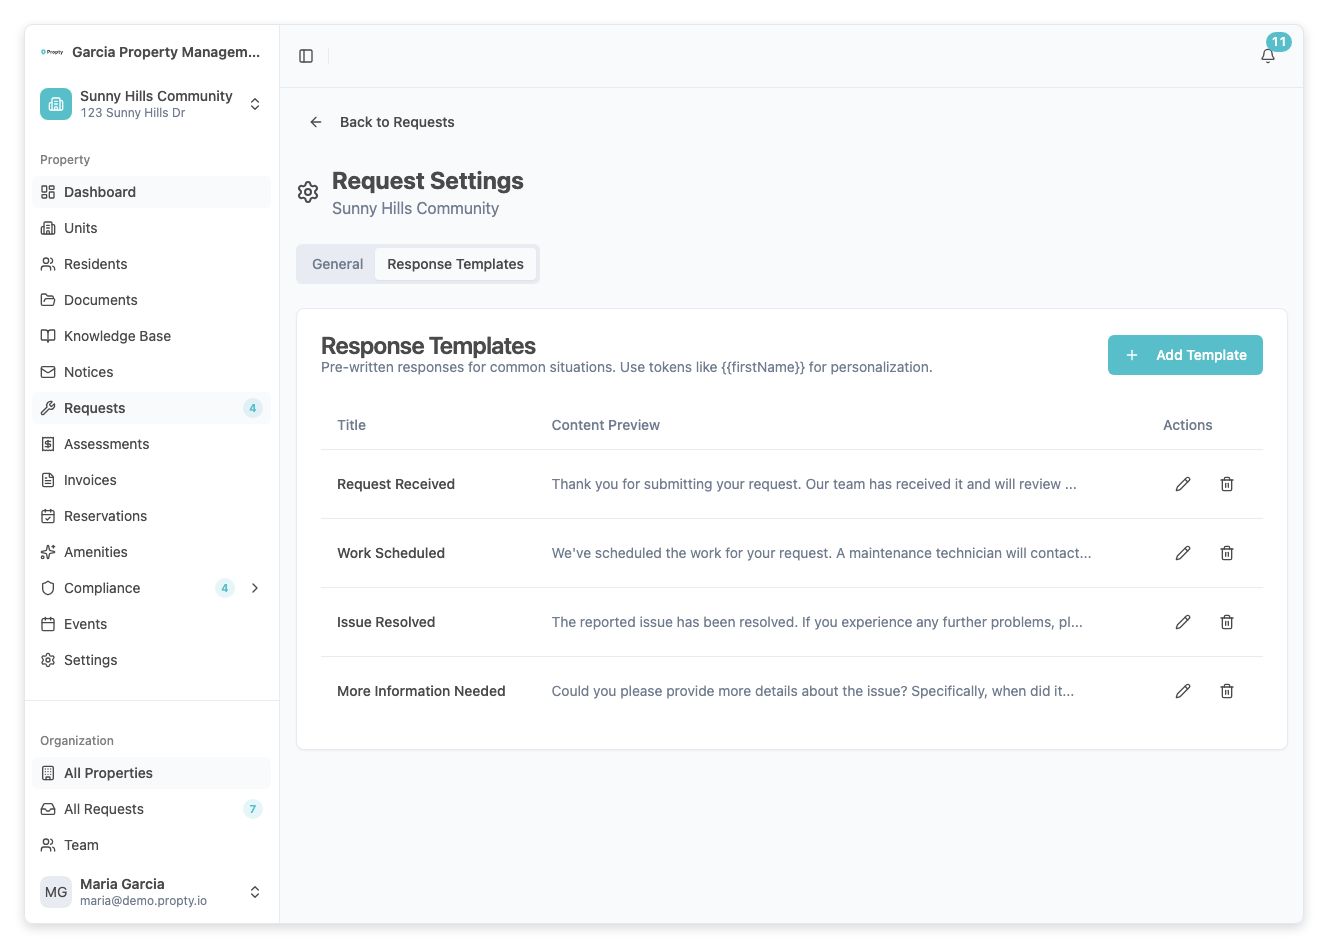
The quick responses table shows all available responses for your property:
| Column | Description |
|---|---|
| Title | The name of the response (visible only to staff) |
| Content | A preview of the response text |
| Actions | Edit or delete buttons |
Responses marked with a Global badge are organization-wide defaults that cannot be edited from this page.
3. Add a new response
Click the Add Response button. A dialog will appear with two fields:
- Title — a short name for the response (e.g., "Acknowledge receipt" or "Request photos")
- Content — the full message text that will be inserted into the reply
Click Save to create the response.
4. Edit a response
Click the pencil icon next to any property-level response to edit its title or content. Global responses are read-only.
5. Delete a response
Click the trash icon next to a response. A confirmation dialog will appear. Click Delete to permanently remove the response.
Using quick responses in a request
1. Open a request
Navigate to any open request detail page.
2. Click the quick response picker
In the reply section, click the quick response button (next to the message input). A dropdown will show all available responses.
3. Select a response
Click on a response to insert its content into the message field. You can edit the text before sending.
4. Send the message
Review the inserted text, make any edits, and click Send.
Tips for effective quick responses
- Personalize — quick responses are inserted as a starting point. Add the resident's name or specific details before sending.
- Keep them general — write responses that work across many situations.
- Use categories — name responses with a clear prefix like "Acknowledge:", "Schedule:", "Complete:" for easy scanning.
- Examples of useful responses:
- "We've received your request and will review it within 24 hours."
- "Could you please provide a photo of the issue? This will help us assess the situation."
- "A technician has been scheduled for [date]. Please confirm you will be available."
- "This issue has been resolved. Please let us know if you experience any further problems."
Troubleshooting
I can't edit a response marked "Global"
- Global responses are managed at the organization level. Contact your organization administrator to request changes.
My response isn't showing in the picker
- Make sure you saved the response successfully. Refresh the page and check the Quick Responses section in Settings.
Can I use personalization tokens in quick responses?
- Quick responses support token replacement for
{{firstName}},{{lastName}}, and{{unitNumber}}. These are replaced with the resident's actual information when the response is inserted.