Event Recordings
Propty integrates with ClickMeeting to capture video recordings of virtual and hybrid meetings. After the event ends, recordings are automatically transferred to Propty and available for download or sharing with participants.
- An event created with ClickMeeting as the video platform (Webinar, Conference, or Meeting type)
- The meeting must have been conducted live via video
- Wait 30 minutes after the meeting ends for the recording to transfer to Propty
- Storage is limited to 90 days in ClickMeeting by default
Before recording a meeting, notify all participants that the session will be recorded. Many states, including California, require at least one-party consent for audio recording. Confirm your state and local laws before capturing meetings with sensitive content.
Understanding Event Types and Recordings
Not all event types support recordings:
| Event Type | Supports Recording? | Notes |
|---|---|---|
| Webinar (ClickMeeting) | Yes | Best for larger meetings with restricted participant interaction |
| Conference (ClickMeeting) | Yes | Supports interactive discussion and breakout rooms |
| Meeting (ClickMeeting) | Yes | Standard meeting format with video and screen sharing |
| No Video | No | In-person only; no video recording available |
| Hybrid | Yes | Combines in-person + virtual; records virtual portion |
If you create an event with type No Video, no recording capability is available.
Where Recordings Are Stored
During the Meeting:
- ClickMeeting captures video in real-time on its servers
- The meeting link (provided to participants) is active and streaming
After the Meeting:
- ClickMeeting processes the recording (typically 15-30 minutes)
- The recording is automatically synced to Propty
- You can download, share, or delete it from Propty
Long-Term Storage:
- Default: ClickMeeting retains recordings for 90 days
- After 90 days: Propty still has a record, but the video file may be deleted
- To keep recordings longer: Download them to your local storage or arrange extended ClickMeeting storage
Accessing Recordings in Propty
Step 1: Open the Event
Navigate to Events in the sidebar and click the meeting that took place.
Step 2: Go to the Recordings Tab
Click the Recordings tab. This tab only appears for events that used ClickMeeting.
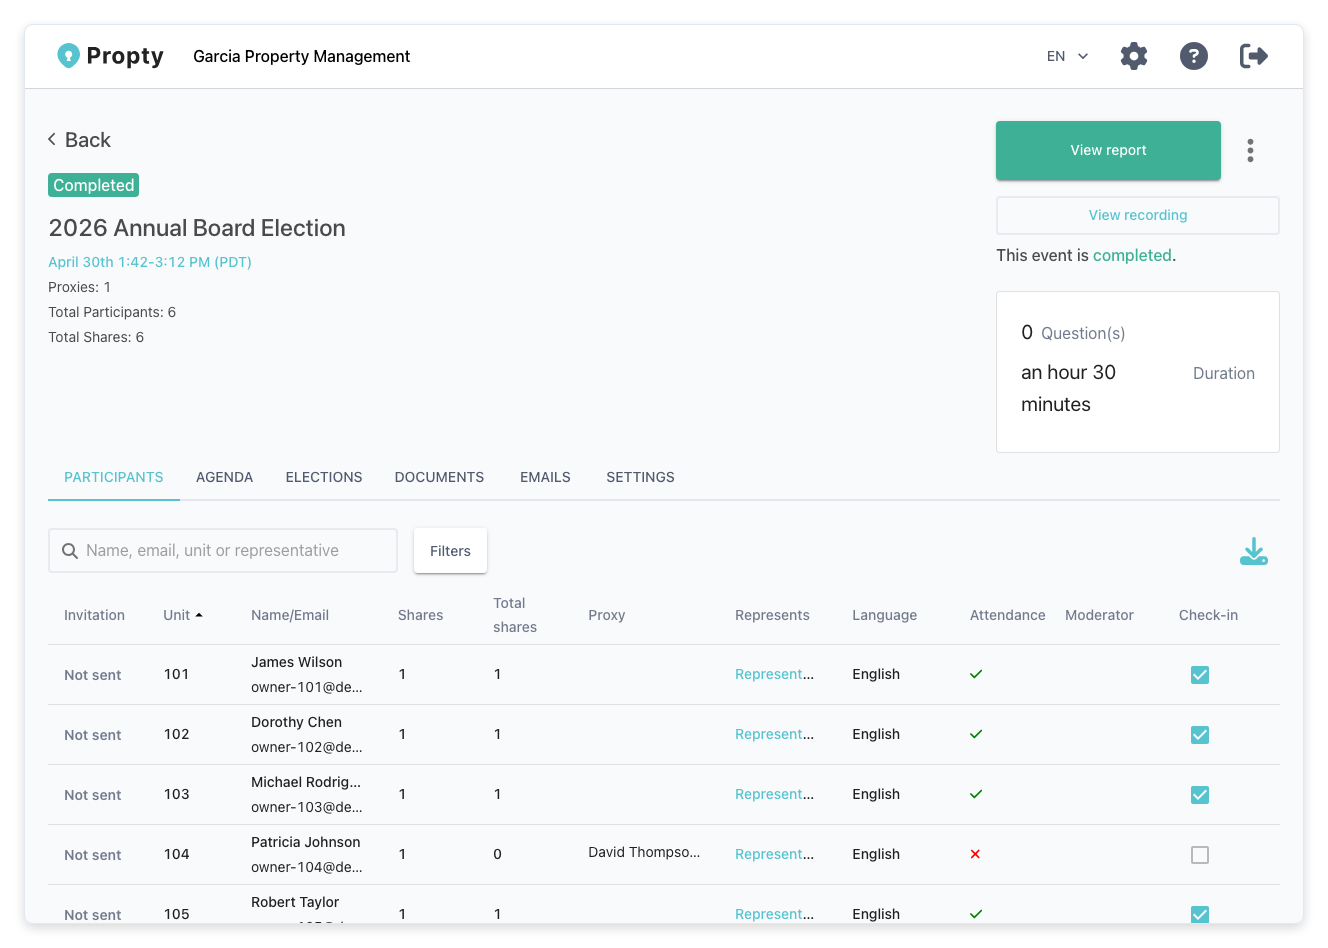
Step 3: View Recording Details
The tab displays:
- Recording name (usually the event name)
- Duration: How long the recording is (in minutes)
- Date/Time: When the recording was captured
- File size: Recording size in MB or GB
- Status: Ready, Processing, or Failed
Step 4: Wait for Processing
If the recording shows Processing, wait a few minutes. Processing typically takes 15-30 minutes after the meeting ends. Refresh the page to check status.
Once Ready, you can download or share the recording.
Downloading Recordings
Step 1: Open the Event → Recordings Tab
Navigate to the event and click Recordings.
Step 2: Find the Recording
Click the recording you want to download.
Step 3: Click Download
Click the Download button. The video file (typically MP4 format) begins downloading to your computer.
File Size Note: Recordings can be large (500 MB to several GB depending on duration). Ensure you have sufficient storage and download time.
Step 4: Save Locally
Save the file to:
- A secure folder on your computer
- Cloud storage (Google Drive, Dropbox, OneDrive)
- An external hard drive for long-term archival
Sharing Recordings with Participants
After the meeting, you can share the recording link with participants:
Option 1: Send via Email
- Open the event → Recordings tab
- Click Share
- Select Email Recording Link
- Choose recipients:
- All participants (auto-populates attendee list)
- Specific participants (select from list)
- Custom email addresses
- Add a message (optional):
- "Please find the meeting recording attached. Watch at your convenience."
- "For your records. Recording available for 90 days."
- Click Send
Each recipient receives an email with a direct link to view or download the recording.
Option 2: Share Public Link
- Open the event → Recordings tab
- Click Share → Get Public Link
- Copy the link
- Post it in:
- Your HOA member portal
- Email newsletter
- Community website or forum
Anyone with the link can view the recording.
Option 3: Embed in a Document
Some HOA portals allow embedding video. Request the Embed Code and add it to your member portal or website.
Recording Duration and Quality
Recording quality depends on:
- Internet bandwidth during the meeting
- ClickMeeting plan (higher tiers may support higher resolution)
- Video settings used by participants
Standard resolution is 720p (HD). Premium ClickMeeting plans may support 1080p.
Typical File Sizes:
- 1-hour meeting: 500 MB - 1 GB
- 2-hour meeting: 1 GB - 2 GB
- Higher resolution or more participants: larger files
Deleting Recordings
If you no longer need a recording, delete it to free storage:
- Open the event → Recordings tab
- Click the recording
- Click Delete
- Confirm: "Are you sure? This action cannot be undone."
Once deleted, the recording is permanently removed from Propty. ClickMeeting may retain it for a short time, but it will not be accessible through Propty.
Before deleting, check your HOA's document retention policy. Some HOAs require keeping meeting recordings for 1-3 years for legal compliance.
Troubleshooting Recording Issues
Recording Shows "Failed" Status
Cause: The meeting was not recorded, or ClickMeeting encountered an error.
Solution:
- Check if the event type was ClickMeeting-based (Webinar, Conference, or Meeting)
- Confirm recording was enabled when the meeting was created
- Verify the meeting took place (no recording can occur if no one joined)
- Contact ClickMeeting support if the problem persists
Recording Not Appearing After 30 Minutes
Cause: ClickMeeting is still processing, or sync failed.
Solution:
- Wait up to 1 hour; processing can take longer for large meetings
- Refresh the Propty page (may not auto-update)
- Check ClickMeeting directly: log into ClickMeeting and verify the recording exists there
- If it exists in ClickMeeting but not in Propty, contact support
Cannot Download Recording
Cause: Recording may be expired (past 90-day retention), or file is corrupted.
Solution:
- Check the recording date; if older than 90 days, it may be removed from ClickMeeting
- If recently created, try again after a few minutes
- Try downloading from ClickMeeting directly if available
- Contact support if the error persists
Privacy and Confidential Content
Be cautious when sharing recordings that may contain:
- Personal financial information (discussed during budget reviews)
- Legal disputes (litigation details mentioned in open forum)
- Board member private sessions (closed-session portions)
Best Practice: Edit or blur sensitive sections before sharing, or restrict the audience to board members and owners only (not renters or guests).
Hybrid Meetings (In-Person + Virtual)
For hybrid meetings, the recording captures:
- Virtual participant video and audio (all speakers on Zoom/ClickMeeting)
- Screen shares and presentations
- Chat messages (if visible on screen)
- In-person participants (only if they are on camera or a camera is pointed at the room)
In-person participants not on camera do not appear in the recording.
- Use a camera to capture the in-person room, or seat the meeting facilitator at a camera
- Test audio; in-person speaker mics must be picked up by ClickMeeting
- Use a single screen share for presentations so all virtual participants see the same content
Event Recording Settings
When creating or editing an event, you can control recording:
- Create/edit the event
- Under Settings, find Recording Options
- Options:
- Enabled: Recording will occur
- Disabled: No recording
- Participant opt-out allowed: Participants can request not to be recorded (if compliant with local law)
- Save the event
If recording is disabled, no recording is captured, and the Recordings tab will not appear.
Next Steps
- Meeting Reports and Digital Signatures — generate and certify meeting minutes
- Inspector of Elections — manage election oversight